Organization
When you sign-up for the very first time, the Platformer Console automatically creates a Personal Workspace for you.
Important
Your Personal Workspace is ideal for your own projects that are NOT shared across a team or an organization. If you wish to continue with the Personal Workspace you can skip this section and start configuring a Project in your personal workspace.
Before you begin
Before you begin, it’s important to understand the resource hierarchies and relationships with key resources involved in deploying applications on Kubernets using the Platformer Console. Read about these concepts here.
Creating your Organization
-
Open Platformer Console
-
From the Admin Panel select CREATE ORGANIZATION
-
Fill in the following mandatory* values
- Organization Name*
- Organization Address
- Country*
-
Organization Domain Name* (note you will need to verify this domain in a later step)
You can optionally use a custom domain. This is to verify the authenticity of the organization you create.
Hint
When enabling billing accounts later, Only verified custom domains are eligible for invoice method payments in Platformer without adding credit card detais.
If you do not own a domain, a Platformer domain will be assigned to you. You can skip the verification process explained at section 5.
Hint
Only Credit Card based billing accounts are accepted for Organizations with a Platformer Domain.
-
Support Email* (an email where Platformer staff can contact you if required)
If you have used a custom domain, the email domain also should match the custom domain.
-
Click Continue
-
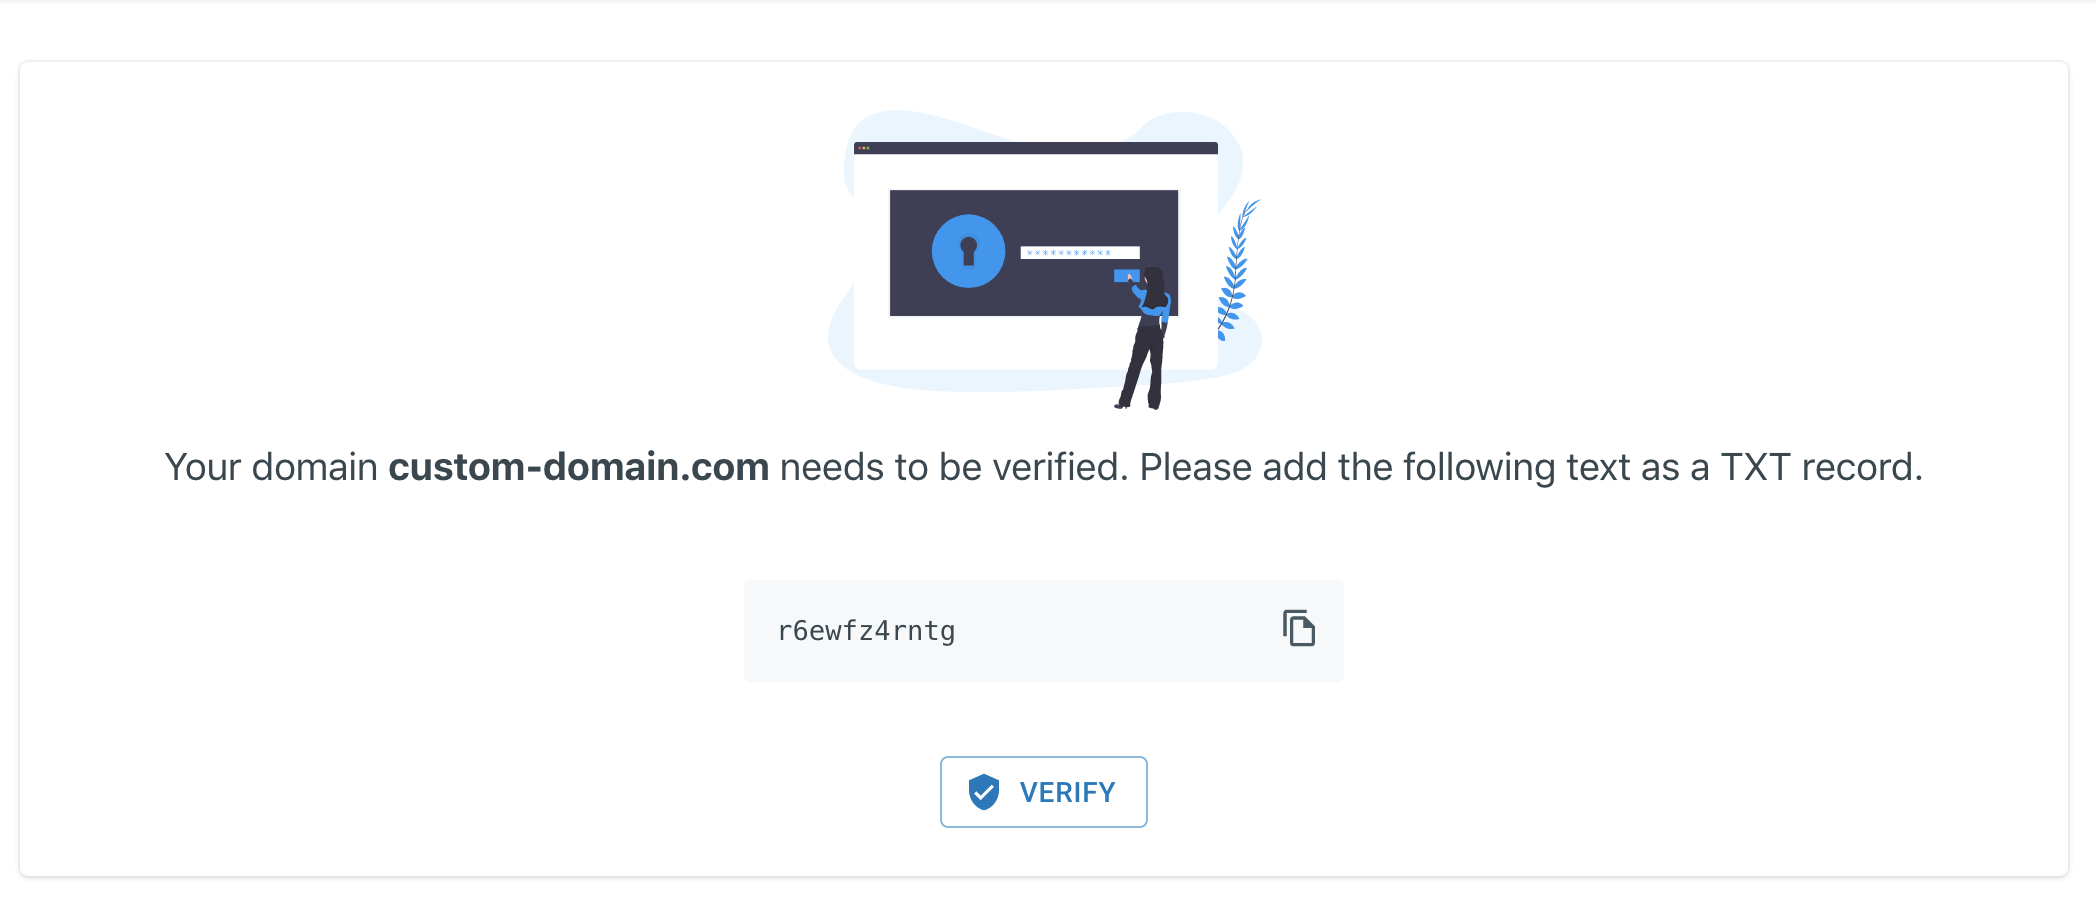
At this stage you need to verify that you own the domain name.
- Copy the TXT record data and verify that you or your Organization owns the domain
- If you decide to verify it later, please copy the TXT record.
Verify your Domain
Please note that unless you have verified the domain name, you will not be able to create projects under this Organization. This is a security measure to ensure that no 3rd-party or unauthorized user can create an Organization under your domain.
- Click Finish - Your organization will be created and set up on the Platformer Console.*
Domain Verification
If you are an Enterprise Account, and you have created an Organization with a Custom Domain, you have to go through the domain verification process before the organization gets activated in Platformer Console.
-
To verify the custom domain, you will see a screen as shown below

-
Copy the text and add it as a TXT record for your domain using your domain account portal.
TXT Records
This outside the scope of Platformer and is typically handled by a DNS provider such as GoDaddy, CloudFlare, Route53 etc. Read more on TXT records here.
-
Once you have added the TXT record, Please press the verify button for Platformer to verify your domain.
Important
It takes about 2-5 minutes for the DNS record to propergate.
Troubleshooting
If you successfully followed DNS Verification Guide and still cannot verify your organization, Please follow the following steps to troubleshoot
Hint
Wait about 3 -5 minutes to propergate DNS
Sometimes, it takes a little bit of time to propergate DNS in DNS servers. Usually the default wait time is 300 seconds which is equivalent for 5 minutes.
Confirm the TXT record is actually set by using an external tool.
-
TXT Lookup will return you your TXT records currently set in your domain.
-
Google Dig will return you your TXT records currently set in your domain.
-
nslookupon command line can be used to verify DNS by running the following command.nslookup \ server google-public-dns-a.google.com set type=txt \ <your-domain> -
Command line tool DIG can be used to verify this as well by running the following command
dig <your-domain> TXT
DNS flush
At certain times, if you try to verify your domain before the DNS was actually propergated, Platformer could be trying to verify the DNS through DNS cache. To fix this, Flush DNS using the Google DNS flush
Contact Support
If none of the above methods work, please go ahead and Contact Support