Configuring Containers
Adding a Container to an Application
With the Platformer Console you can add multiple Containers to your Application (Deployment / Job / StatefulSet / CronJob Pod).
Each container can be configured to a different Image Collection so that you can use independent CI pipelines to build the different container images, even if they are part of the same application Pod.
-
Applications > Select Application > Containers tab.
-
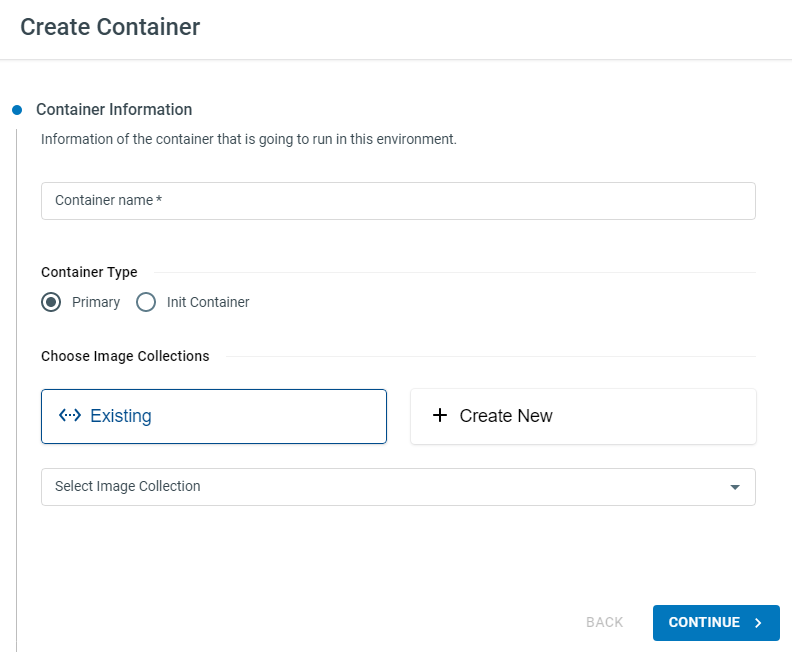
Click CREATE. This will open the Create Container panel.
Note
Container Name - Name of this container. You can name it after the application or default to anything you prefer. If this is a multi-container Application/Pod use a recognizable and clear name (for your own benefit later).
Container Type - In most cases you will be using the default
Primarytype but Init Containers are also supported for advanced configurations. (Init Containers run to completion before the Primary containers are started in a Pod, read more about them here)Image Collection - (Read more about Image Collections). You can choose an existing or new Image Collection for this container.
Using Public container images (Docker Hub, GCR, etc.)
-
To use a public image, select + CREATE NEW in Image Collections section.
-
Give it a collection name (if it’s from public docker hub, you can name it as
dockerhubso you can re-use it later if you need other public images from docker hub) and select Setup Later from the Select Credentials drop down. -
Copy the public image you want to use in this Container to the Default Image field.

-
-
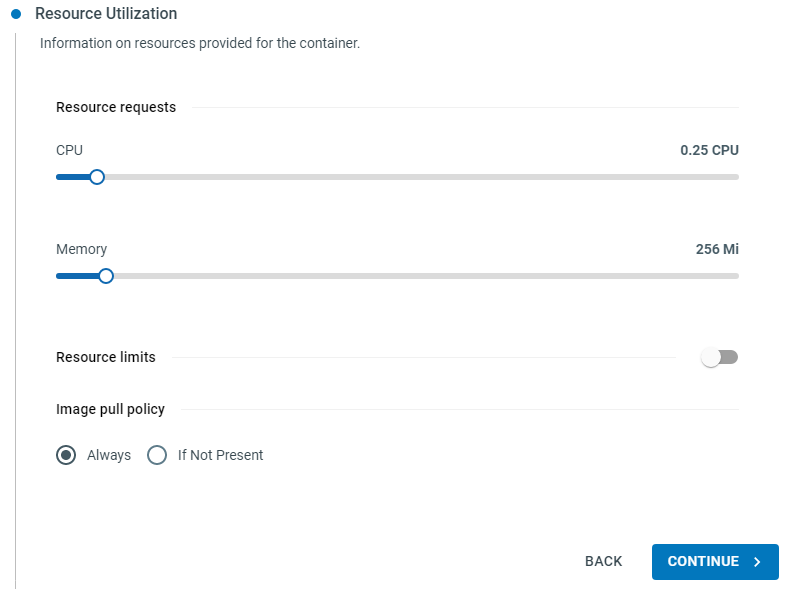
Click CONTINUE once you have specified your container details. This will take you to the Resource Utilization section.
-
You can adjust any Resource Requests and Limits in this section. These values can be configured later when you understand how much resources your application really needs.
-
Click CONTINUE to proceed to the Network section. You can expose the required ports on the container in this section. (Services and Ingresses will be set up to use these ports). !!! hint Leave the
Service Portto the default value unless you want to change the mapping between the container (“Port”) and the “Service Port”. Eg. 8080 -> 80.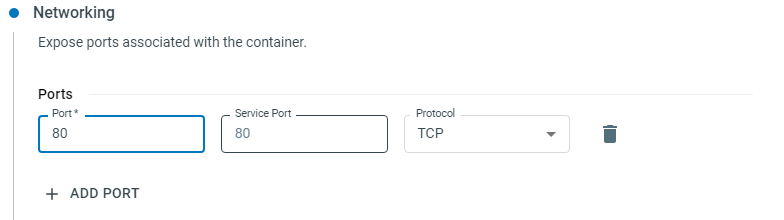
-
Click CONTINUE to proceed to the Advanced Configuration. In this section you can configure any
commandsorargumentsto run on your container if required. (Read more about commands and arguments in Kubernetes containers). If there is no such requirement, click FINISH.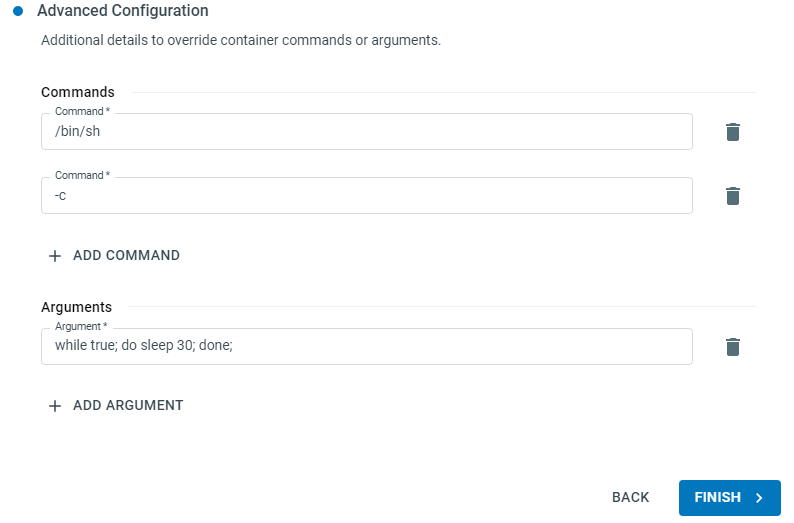
-
Your container will now be added to the Application Pods. You can edit the container details in the Containers tab or switch to the Overview tab to see your deployments update with the new details.