Projects
Overview
A Project is a Platformer construct that allows organizations to group and isolate resources. A Project is always asscoicated with a Billing Account. You can read more about the Resource Hierachies in the Platformer Console here.
Before you begin
- Ensure that you have an Organization set up (unless you’re using your Personal Workspace)
- Ensure that you have set up a Billing Account.
Creating a Project
- Open Platformer Console
- Select Organization from the Organization drop down at the top header.
-
From the Admin Panel select CREATE PROJECT
-
Fill in the form and select a Billing Account.
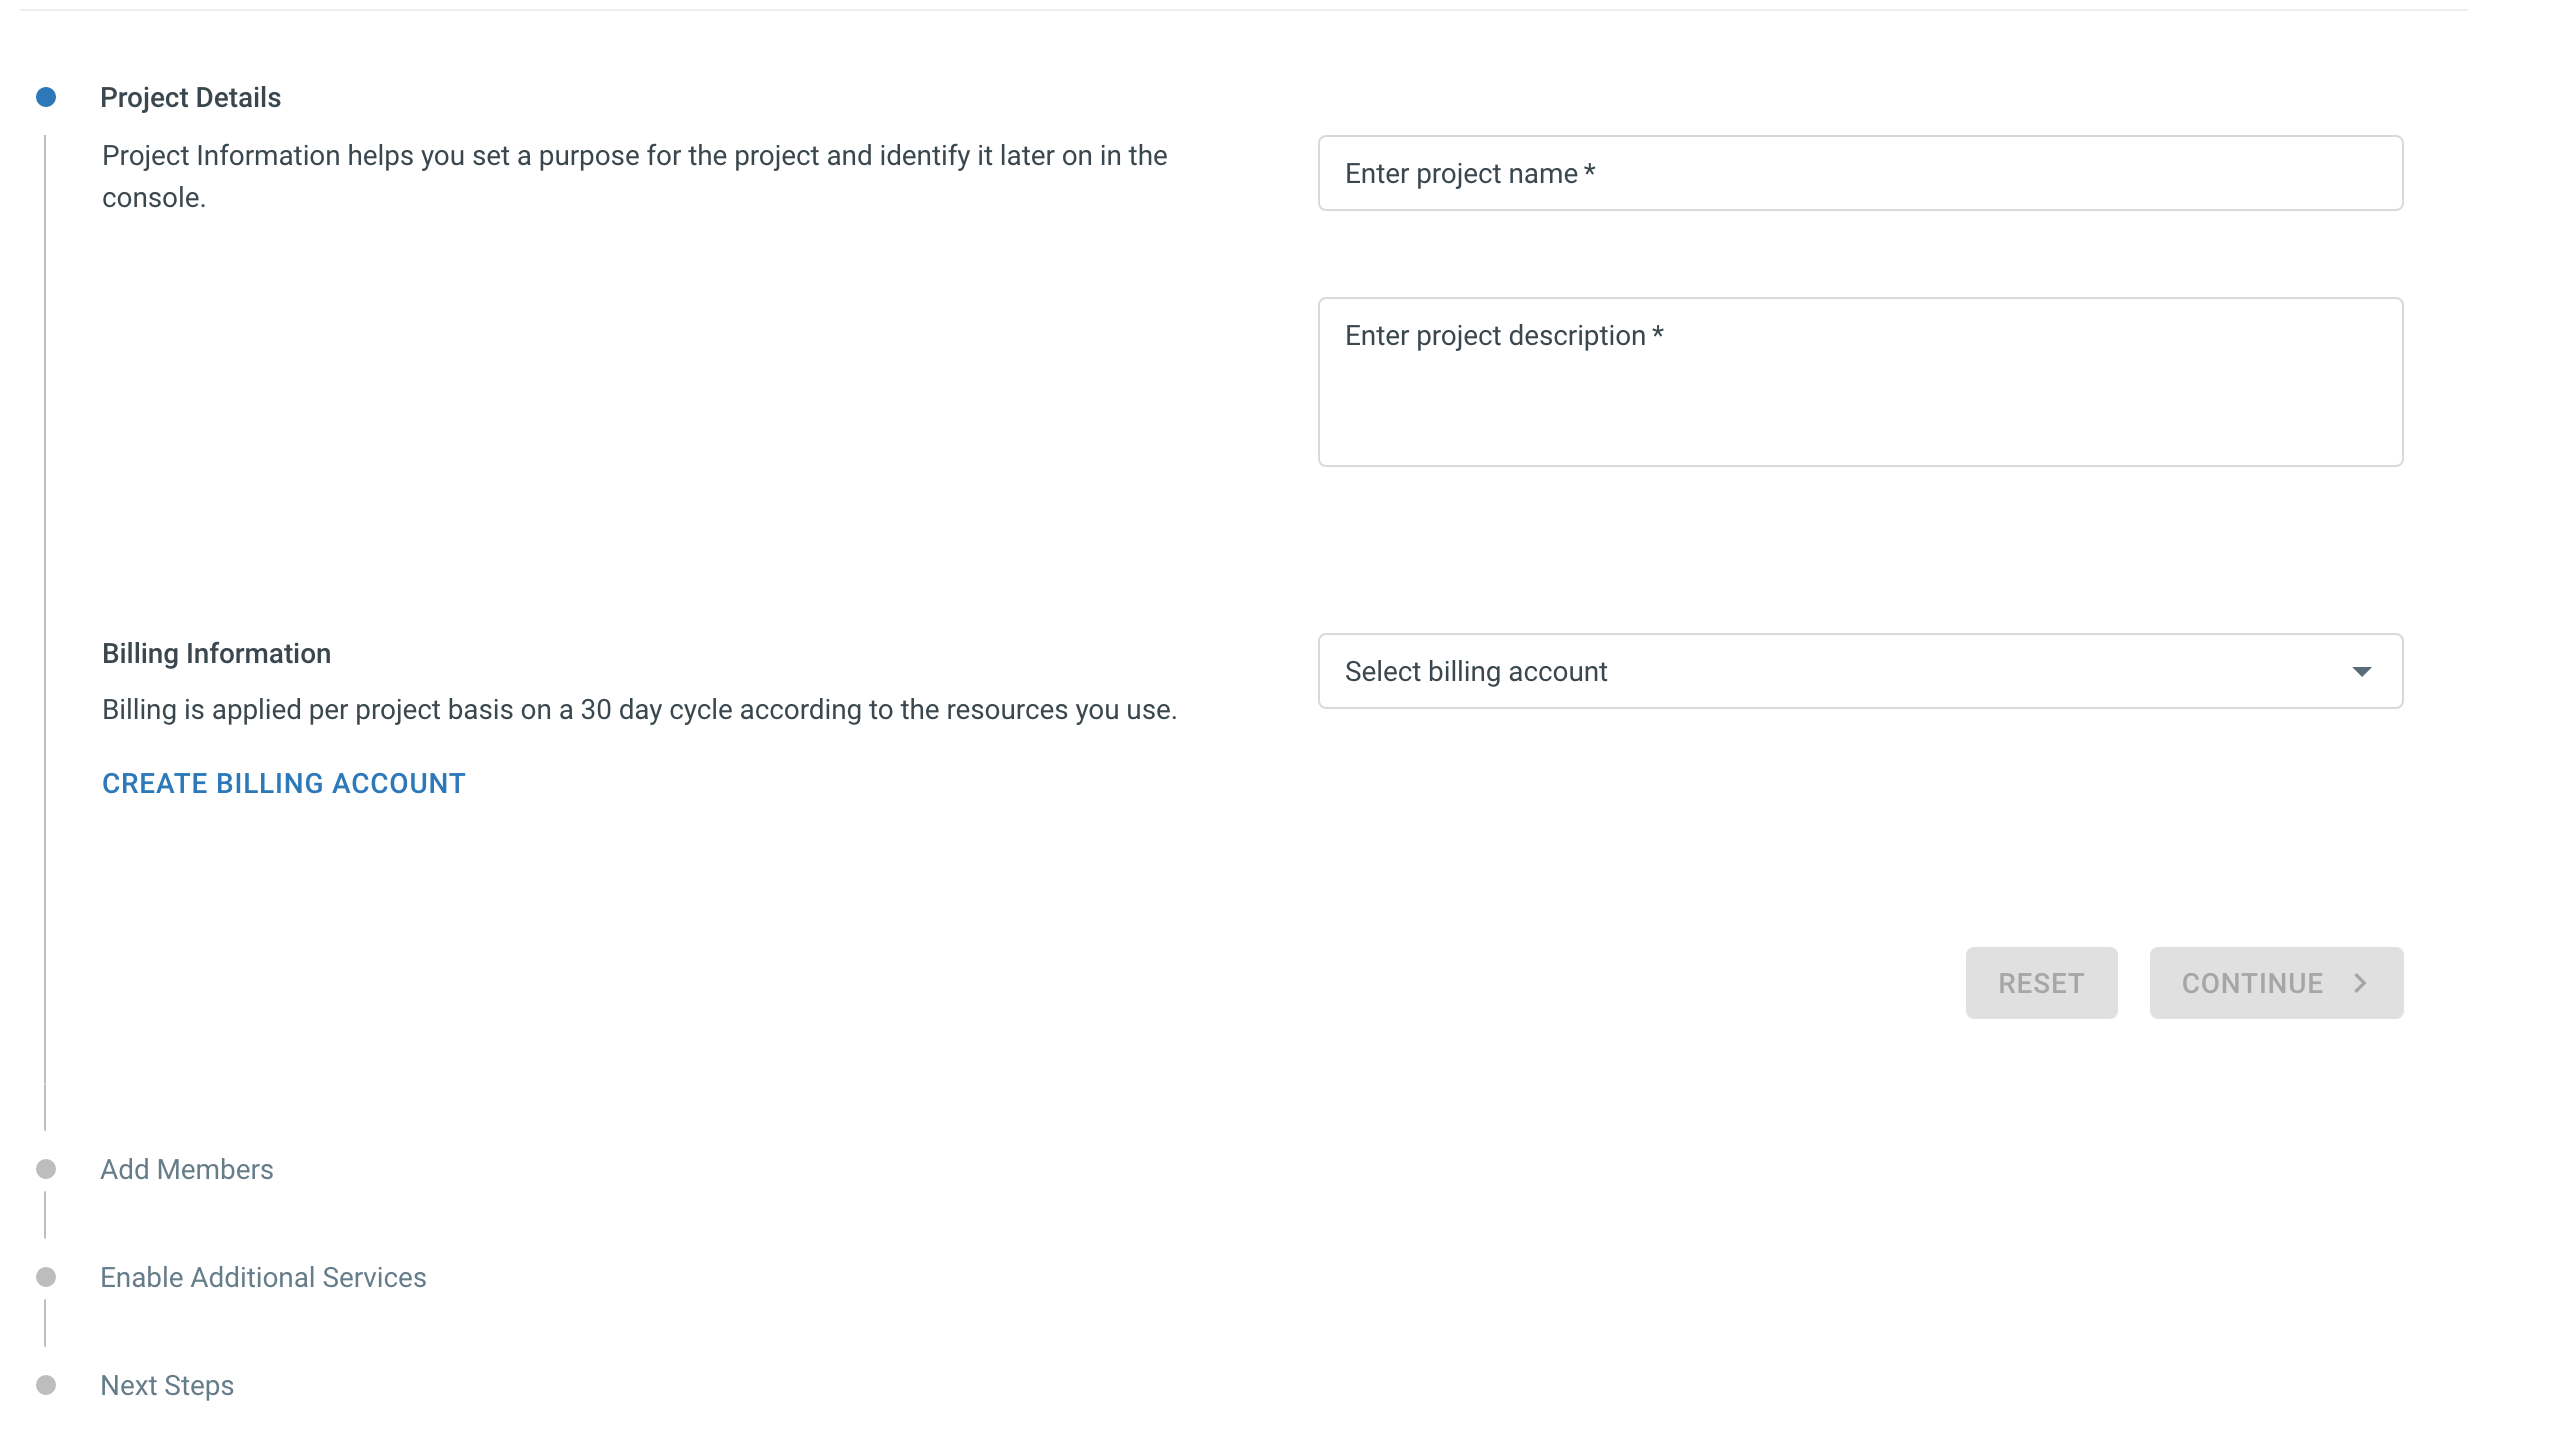
Adding Users
You can add users on the project creation wizard itself. Or you can add them later in Project Settings and can skip this step for now if you don’t have invited any users to your organization.
Attention
You can only add users that have already been added under organization level. Users who have been invited and not accepted the invite will not be visible in Project User Management interface.
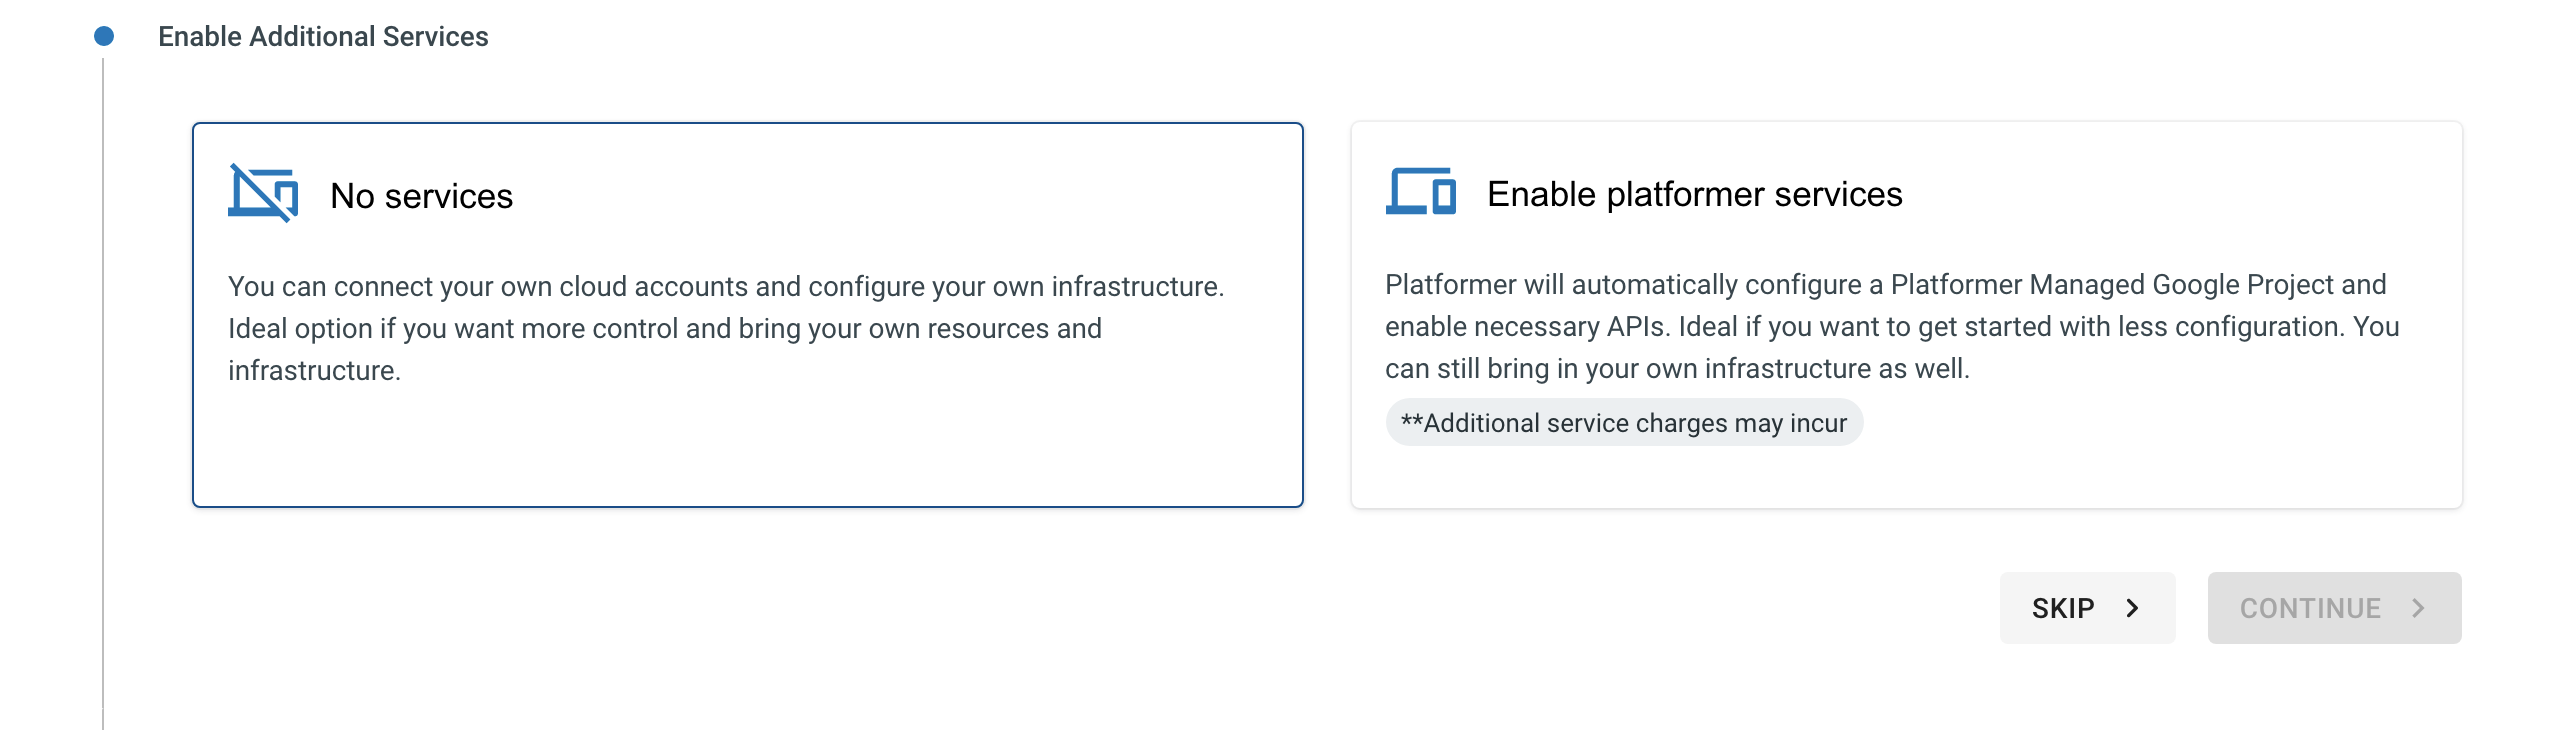
Enable Additional Services
In the project creation wizard, as the third step, you get an option to enable Platformer Services.
This option is targeted mostly towards startups who do not have a cloud vendor account.
If you choose to enable Platformer Services, we will automatically create a Google Cloud project for you and setup Google Container Registry and Google Source Repository and Google Cloud Build to get you started quickly with the console and setup applications with CI/CD quiet easily.
You can skip this and enable it later in Project Settings as well.
Hint
It is recommended to not to enable Platformer Services for Enterprise Accounts as you will not have any control over the Google Project that we automatically create and manage for you.
Important
Although, we automatically setup Google Projects, you can quite easily connect with Azure, AWS and your own Google Accounts as well because Platformer is Cloud Agnostic